house tour

Primary Bedroom Makeover

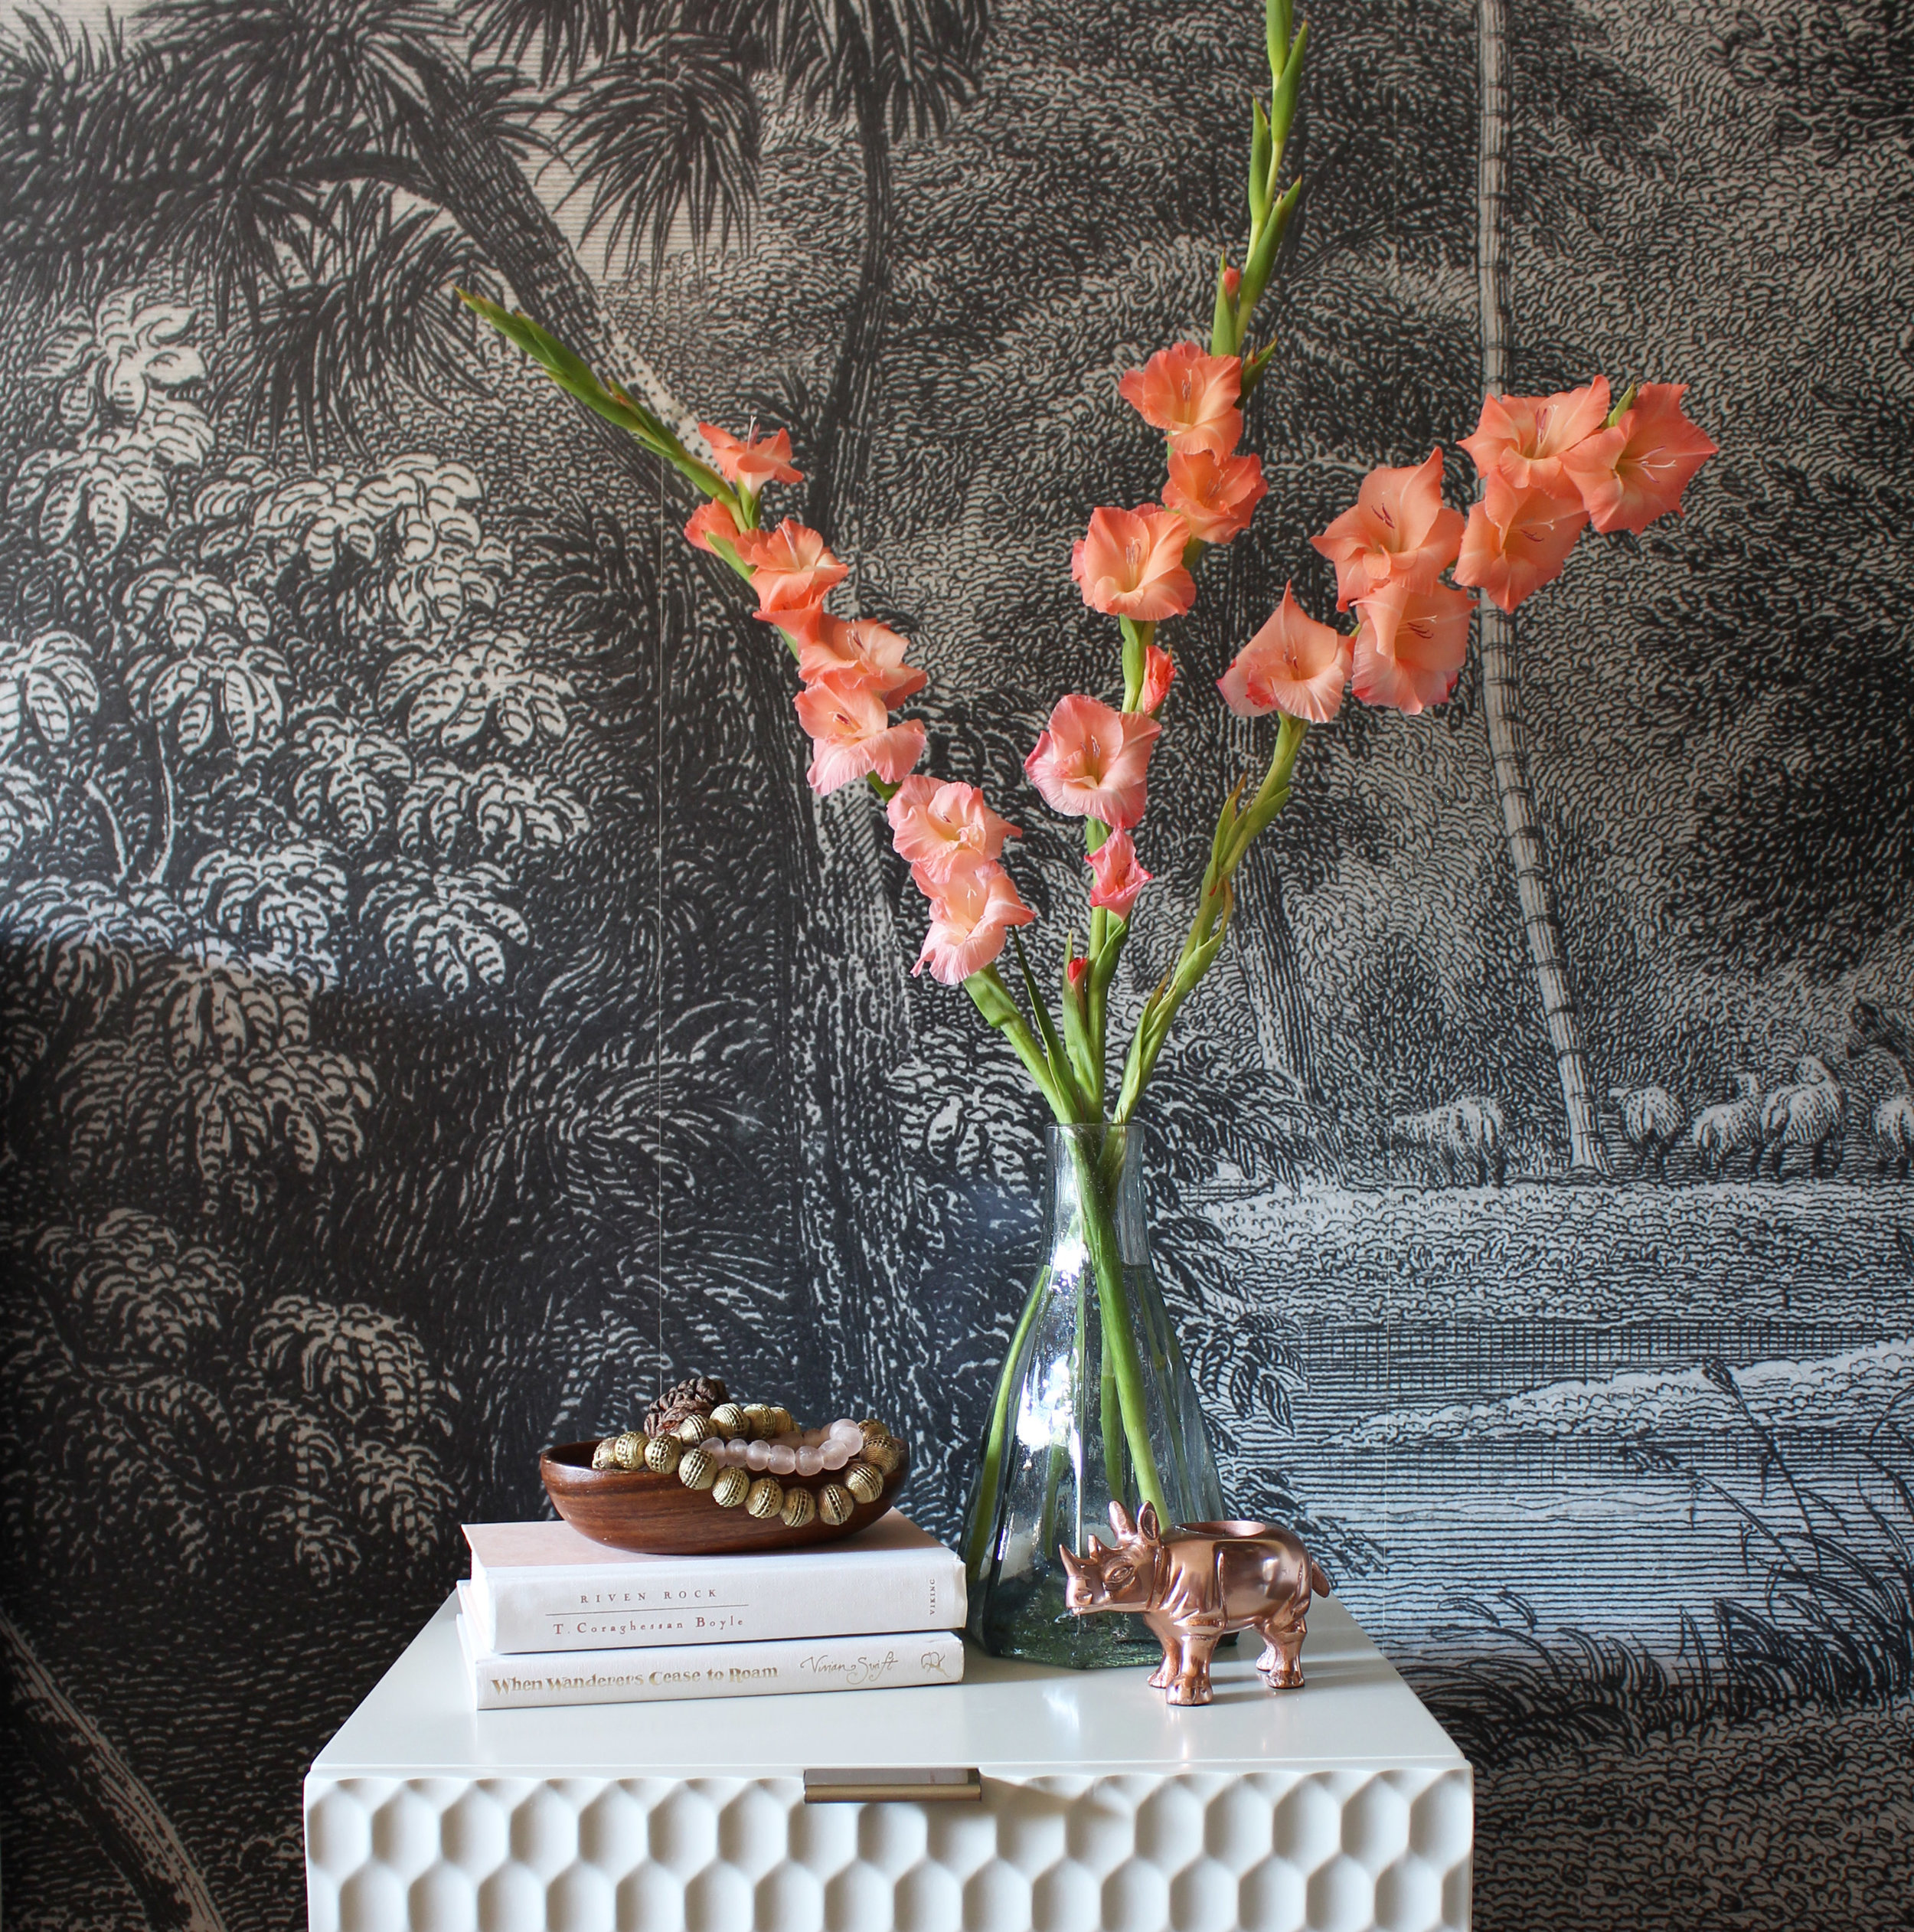
The first time I saw this mural from Rebel Walls, I knew I had to design a room around it. The mural was the big splurge in my budget, and so worth every penny. I love the drama it brings to our primary bedroom.

THE PLAN

master bedroom mood board kristin laing designs.png

I'm still shocked at how closely I followed my own plan, that almost never happens! 

AFTER

master bedroom makeover with wall mural.jpg

The wallpaper went up easily and in less than day. I'm asked for sourcing details all the time, so see the sourcing details below.

kristin laing designs master bedroom makeover.jpg
master bedroom makeover kristin laing blog.jpg
kristin laing master bedroom nightstand detail square.jpg

BEFORE

bedroom makeover before.jpg

And here's a quick look at how the room looked when we bought the house. It was already a beautiful space with great moody lighting. It's so much more cozy, dramatic and personal now. 

SHOP THE ROOM

Sources

mural
chandelier- DIY
paint color- Benjamin Moore Albescent
trim color- Benjamin Moore White Dove
bed 
nightstands
flokati rug
table lamps
velvet duvet and shams
velvet throw pillows
fan pillow


Tween Girl Bedroom Revamp with Rebel Walls

When Rebel Walls contacted me about collaborating on my daughter's bedroom makeover, I jumped at the chance. I used one of their murals in my master bedroom last year and am so very happy with that decision. The mural is printed to fit the wall exactly AND there is no repeat to match up, so no waste. In my experience, it is much easier than hanging normal patterned wallpaper.

Tween bedroom with cloud wall mural.jpg
tween girl bedroom makeover.jpg

What I didn't take into consideration was how hard it would to be to agree on a design for the room! My "client" was a nine year-old girl who has very strong opinions and tastes. We also had to take in to consideration that she has lots of windows and a huge headboard. A feature wall was not going to do the trick, so we had to plan for a mural that would go on all four walls without overwhelming the space. After much discussion, Cuddle Clouds was the mural we decided on. 

girls bedroom redesign with Rebel Walls cuddle clouds mural.jpg
girls bedroom makeover with Rebel Walls cloud wallpaper
cuddle clouds color change.jpg

Before we decided on using wallpaper in this room, we talked about a color scheme. My daughter wanted to paint the walls aqua and use mustard accents. The original Cuddle Clouds design was not exactly the colors we wanted, so luckily Rebel Walls is very open to working with clients to customize their wallpaper. I wanted some of the blue in the paper replaced with greener tones. I send the image shown to the in house designers and and after two revisions, we got the paper just where we wanted it color-wise.

installing wall mural.jpg

I installed the mural myself and yes, it's and undertaking to do four walls of a 12 x 18 foot room. The most challenging part was the four windows and two doorways, I didn't deal with either of those in the master bedroom. I've been asked a number of times if it's realistic to DIY the mural hanging and YES, it is! It can be frustrating at times but it's not hard. You can do this. 

Besides the wall mural, the rest of the room was a real budget makeover. We all know that a girl's taste will change over the next few years, so we didn't invest in any new furniture. We added new bedding, curtains and curtain rods, and some new accent pieces.

Rebel wall cuddle clouds wallpaper in custom colorway.jpg

Overall, we have a super happy girl who loves her new room! Shop the room below.

Tween girls bedroom makeover with cloud wallpaper.jpg

SHOP THE ROOM

Wallpapered Stairway Before and After

I partnered with Poland-based wallpaper company Coloray Decor to do a quick facelift on our stairway. Their peel and stick wallpaper is custom printed to order and shipped for delivery in two days.

Wallpapered stairway before and after.jpg
coloray decor wallpaper.png

I absolutely loved several of their designs, but I could really picture this old world painting on the stairway. The design is called Vase of Flowers.

BEFORE


Starting from the very beginning, this is how it looked when we purchased the house. We've made a few incremental changes including painting the banister and replacing the carpet with solid wood stair treads and risers. Removing the carpet was one of the most satisfying upgrades. I stained the treads with ebony stain and painted the risers white.

wallpapered stairway before.jpg

Never one to leave good enough alone, I wanted to try adding more pattern to the space with temporary wallpaper. I love that it's easily removable in case we decide we're done with it or want to move on to another pattern!

wallpapered stairway DIY.JPG

Coloray printed and cut the paper to may exact specifications. I measure the risers and found that they were all close to the same size, but there were variations. I ordered the paper to fit the largest riser, then trimmed down the pieces that were too large on the smallest risers. Since the wallpaper is basically a big sticker, you just remove the backing a stick it on. The only tools needed were scissors and a utility knife.

wallpapered stairway DIY.jpg

And that's it! It took a several hours to do the entire staircase, mostly because of the trimming. It took a little while for my eye to get used to it but I love the result.